
Sourdough Shokupan


Sourdough bread is made with a wild-fermented sourdough starter in combination with flour and liquid. For this bread I use milk as the liquid.
Sourdough is a great alternative to a traditional yeasted bread as it yields an interesting unique slightly sour flavor. It also is great in times like these when yeast can be hard to find.
While I originally got started with sourdough baking in a boule shape, I found that baking it in a loaf pan yielded a more versatile and useful bread that could be used for sandwiches, breakfast, and was generally more predictable to bake.
This dough ends up right at about 70% hydration which is a little on the higher side, but not too crazy. It takes some practice to get used to handling wet dough, so if you are just getting started you can actually reduce the water in this recipe by up to about 20 grams- which would be about a 65% hydration dough. The dough will be easier to handle but it may not have as open a crumb.
Ingredients
- 150 grams sourdough starter, fed
- 350 grams bread flour
- 162 grams milk
- 60 grams water, at room temperature
- 17g sugar
- 4g salt
- 40g butter, divided
Tools I Used


Instructions
- Prepare the sourdough starter at 100% hydration. If you have an existing sourdough starter, feed it with 75g water and bread flour.
![Prepare sourdough starter]()
- In a large mixing bowl mix the remaining dry ingredients- 350g of bread flour, 17g sugar, and 4g salt.
- In a smaller bowl, mix the 162g of milk, 50g water, and 150g of the fed sourdough starter.
![Mix Wet Ingredients]()
- Mix the wet ingredients into the dry ingredients. Mix well using a scraper for 5 minutes until there is no loose flour. Let sit for 2 hours, covered. During this time, the dough should start to slacken, and should rise slightly in volume.
![Combine ingredients and mix]()
- Mix the butter into the dough.
- Turn the buttered dough out onto a lightly wet surface (sprayed with a fine mist of water from a spray bottle). Knead the dough with your hands for 10 minutes. The technique I like to use is to push the ball of my hand into the mass of dough, pull up on the dough to stretch it slightly, and to fold it over itself, and then repeat at a slightly different angle. I like to just use one hand, to keep the other one clean. Leave on the table for about 5 minutes after kneading.
![Knead dough]()
- Flip the dough, and shape into a ball. Return the dough to the bowl, and cover for another 2 hours.
- Turn the dough out onto a lightly floured surface, smooth side down. Use your fingers to pull at one side of the dough and fold it over the rest of the dough. Rotate and continue about 10 times.
- Flip the pre-shaped dough so the smooth side is up. Let it rest, covered, on the countertop for about 1 hour.
![Rest]()
- Flip the preshaped dough. Press into a square by gently pushing with your fingers.
![Flip pre-shaped dough]()
- Fold the top corners of the dough in to make a long triangle whose base is the width of your loaf pan.
![Step 11]()
- Gently roll from the top of the triangle down towards you. Occassionally push back on the roll of dough to keep any air pockets from building up within it.
![Shape dough]()
- Place the rolled loaf into a greased loaf pan.
![Place in Loaf Pan]()
- Allow loaf to proof, covered in the pan, either at room temperature for about 4 hours, or overnight in the fridge. It is done when the loaf has spread out to fill the bottom of the loaf pan and is about three quarters the height of the covered loaf pan.
![Proof Bread]()
- Preheat the oven to 400 degrees
- Brush the top of the loaf with room temperature milk and place the cover on the loaf pan.
![Brush with milk]()
- Place the covered loaf pan directly into the oven, lower the temperature to 350 degrees, and set a timer for 30 minutes.
![Place bread in oven.]()
- Remove the cover from the loaf pan and leave in the oven for another 10 minutes. Remove from the oven when the internal temperature of the bread reaches 195 degrees Fahrenheit.
![Check internal temperature of bread]()
- Rest on a wire rack for an hour before carving.
- Serve. Baked bread can be stored in airtight plastic containers at room temperature for a few days after baking.
![Step 20]()


This recipe was adapted from:
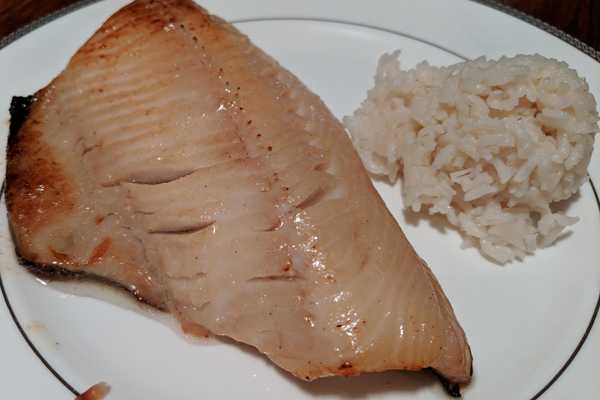 Broiled Miso-Glazed Fish
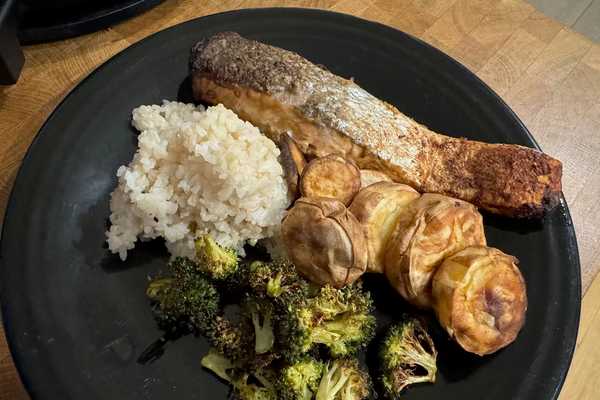 Salmon Misoyaki with Japanese Sweet Potatoes & Brown Rice
 Chilaquiles
Written by Will Chiong who lives and works in New York building useful things.